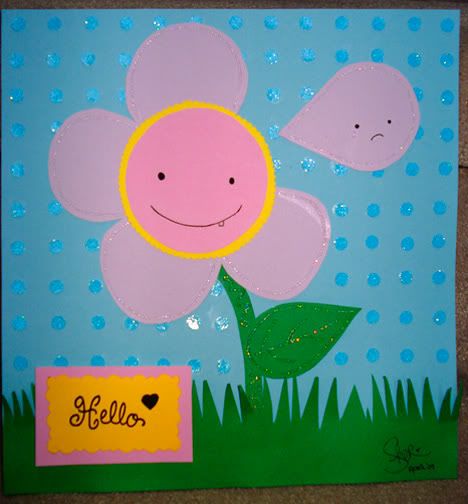
the weather is kinda wacky here, but i hope spring is coming soon! i can't wait to start wearing my sunglasses, shorts, tanks...i'm drooling.
i was playing around with the stamps and i must say...it's really easy to use and quite fun. plus, the cleaning part wasn't that bad. the ink comes right off.
don't you just love that face? heheh
ps- i decided to use a template for my layout. it's way too hard to do it by myself (= it looks better this way anyways. enjoy!
...well, not really. but rubber stamps will sure save me A LOT of time.
Rubber stamps come in all different sizes and cute designs! By using simple stamping techniques, you can add beautiful pictures on your handmade cards! And here’s the best part: since there are sooooo many designs, you can still be creative and go buck wild.
I'm hoping my cards will look something like this one. It's so simple, yet very cute!... but if it was me, I would add some glitter here and there, but that's okay! haha =P
Oh, I just got the best deal! I bought a set that included 53 clear stamps, 2 stamp blocks, 3 ink pads, and 8 cards with envelopes for…wait for it…for only $4.94CDN!!! it was about $10CDN. Don’t you just love it when your item is marked original price, but then your cashier tells you that your item is on sale??? I wanted to droooooool. haha
sureL's tips and techniques.
♥ Look for unmounted stamps (rubber only) that can be used with stamp blocks or acrylic blocks. That way, you can save a lot space. Check out a video of how pinkcatstudio demonstrated 3 clever ways to store unmounted rubber stamps.
♥ If this is your first time purchasing rubber stamps, figure out what style you like. Do you like fancy designs? Flowers? Letters and Phrases? Or even better, you can buy themed stamps…that way, you can keep your designs consistent. But you don’t have to limit yourself to buying themed stamps…you can always mix and match!
Did anyone see the Hello Kitty collection at MAC? Well, more like...did anyone receive the MAC postcard? =) ....I didn't =( But a wonderful friend of mine gave me hers! <3 It was sitting in my room...collecting dust for many days, so I thought maybe I make it more useful. The inside of the envelope gave me an idea...it's so cute! So why waste the pretty?
Materials Needed:
Double-sided tape/glue
Scissors/Craft knife
...that's all!
Not really a step =) Just showing the postcard and envelope.
Open both sides of the envelope. Try to open the sides as neatly as possible. As you can see, I did a messy job. lol
Cut along the middle. No need to use a ruler! Just follow the crease.
Use double-sided tape or glue to stick the Hello Kitty postcard onto the pink side of the envelope. Cut and follow the shape, leaving 0.5cm space between.
Use a black Sharpie to colour in the yucky white corners.
Lastly, stick Hello Kitty onto the black side using double-sided tape or glue.
TA DA! There you have it! You can gave it to a friend, make it into a card, or even frame it. But for me, I'm going to keep it for myself. It's way too cute! =)